Unveiling the Magic: Building Your Own Gaming PC - Step by Step and Part by Part, A Beginner's Guide
- shawn Bell
- Feb 10, 2025
- 5 min read
Updated: Feb 28, 2025
Building your own gaming PC is an exciting venture that can also feel overwhelming. With so many components on the market, it's easy to feel lost. Yet, the thrill of creating a custom rig tailored specifically to your preferences can be incredibly rewarding. Today’s market offers a variety of choices, from stylish cases and dazzling lights to precision-engineered parts. Each aspect allows you to express your unique style while creating a powerful machine.
Are you ready to embrace the spirit of PC building? Not only will you likely save money by choosing parts that fit your needs, but you’ll also have the satisfaction of knowing exactly what's inside your system. In the following sections, we’ll explore essential components, provide straightforward assembly instructions, and empower you to unleash your creativity.

Why Build Your Own PC?
Building your own PC comes with distinct advantages over buying a pre-built system:
Customization: Choose parts that fit your specific gaming needs. For instance, if you prefer graphic-intensive games, you can invest in a powerful GPU.
Cost-Effectiveness: You save up to 30% by purchasing parts separately compared to pre-built systems. This can mean getting more performance for the same budget.
Learning Opportunity: Understanding how PCs work can broaden your tech knowledge, making future upgrades or repairs easier.
Upgradability: A custom-built PC makes it simpler to upgrade individual parts as technology advances, extending the lifespan of your build.
With these benefits in mind, let’s explore the components you’ll need to build your ultimate gaming rig!

Essential PC Components
Here’s a detailed look at the essential components you’ll need for your build:
Motherboard
CPU (Central Processing Unit)
GPU (Graphics Processing Unit)
Memory (RAM)
Hard Drive/SSD
Power Supply Unit (PSU)
Cooling System
PC Case
Optional Accessories
Understanding each of these parts is crucial for creating a high-performance PC suitable for your gaming goals.

1. Motherboard
The motherboard is the backbone of your system. It connects all components, allowing them to communicate. When choosing a motherboard:
Compatibility: It must support your specific CPU and RAM.
Size: Common form factors are ATX (standard) and Micro-ATX (smaller). For instance, a standard ATX motherboard typically has more features and expansion slots.

2. CPU (Central Processing Unit)
The CPU is often referred to as the brain of your computer. It handles instructions and calculations. When selecting a CPU:
Core Count: Modern CPUs often have 4 to 16 cores. More cores can lead to better performance in multitasking and gaming.
Clock Speed: Measured in GHz, higher speeds can improve performance. For example, a CPU operating at 3.6 GHz will generally perform better than one at 2.8 GHz for gaming tasks.

3. GPU (Graphics Processing Unit)
The GPU is crucial for gaming, rendering graphics and ensuring a smooth visual experience. Key considerations include:
VRAM: For modern games, 8GB of VRAM is a solid baseline, allowing smooth gameplay at high settings.
Performance: Research benchmarks for the type of games you play. For example, a NVIDIA RTX 3060 is well-suited for 1080p gaming.

4. Memory (RAM)
RAM is crucial for your PC's speed. Typically, for gaming:
Size: 16GB is standard for most gamers, while 32GB is beneficial for heavy multitasking or demanding applications.
Speed: Look for RAM with higher MHz ratings, as faster memory can lead to improved performance.

5. Hard Drive/SSD
The choice of storage affects load times and system speed. Important points include:
HDD vs. SSD: SSDs are significantly faster, reducing load times by up to 70% compared to traditional HDDs.
Capacity: Consider how much storage you need for games and files. A 1TB SSD is often a sweet spot for many gamers.
6. Power Supply Unit (PSU)
The PSU powers all components. When choosing one:
Wattage: Total wattage should meet or exceed your components' requirements. A PSU with 600W usually suffices for most mid-range builds.
Efficiency Rating: Look for at least an 80 PLUS Bronze certification for optimal efficiency.
7. Cooling System
Cooling is essential for maintaining performance and component longevity. Options include:
Air Cooling: Quieter and typically easier to install. A good air cooler can lower CPU temperatures by 20% or more compared to stock coolers.
Liquid Cooling: Provides superior cooling but may require more maintenance. It can reduce cooling temperatures by up to 30% under full load.
8. PC Case
Your case not only houses the components but also influences airflow. Important factors include:
Size: Ensure it fits your motherboard and any additional cooling systems.
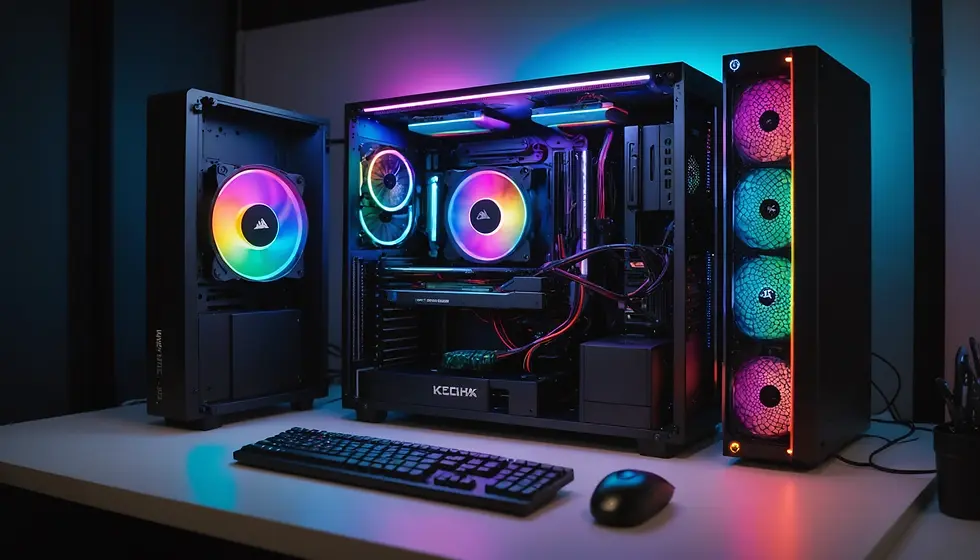
Design: Choose a case with good airflow and one that appeals to your aesthetics, whether minimalistic or flashy.
9. Optional Accessories
Enhancements can improve functionality and visual appeal:
RGB Lighting: Creates a vibrant environment while gaming.
Fan Controllers: Allow you to manage cooling efficiently.
Custom Cables: Help in organizing cables for a cleaner look.
Step-By-Step Assembly Instructions
Before you begin, you'll need a few tools:
A Phillips screwdriver
Antistatic wrist strap (optional but recommended)
A well-lit, clutter-free workspace
Step 1: Prepare Your Workspace
Clear your workspace and ensure all components are ready. This step helps everything go smoothly as you assemble your PC.
Step 2: Install the CPU
Open the CPU socket on the motherboard.
Align the CPU with the socket, matching notches, and gently place it in.
Secure it by lowering the lever.
Step 3: Install the RAM
Locate RAM slots on the motherboard.
Open the clips on each slot.
Align the RAM with the slot and press down until it clicks. Repeat for additional modules.
Step 4: Install the Motherboard in the Case
Lay the case on its side.
Install standoffs in the case according to your motherboard size.
Place the motherboard in and secure using screws.
Step 5: Install the Power Supply
Position the PSU in its location within the case.
Secure with screws, ensuring the fan is placed correctly for airflow.
Step 6: Install the Hard Drive/SSD
Use the appropriate mounting brackets based on the storage type.
Secure the drive in the designated bays.
Step 7: Install the GPU
Remove covers on the back of the case for expansion slots.
Align the GPU with the PCIe slot and press down firmly.
Secure it with screws.
Step 8: Connect Cables
Connect PSU cables to the motherboard, GPU, and storage devices.
Make sure everything is correctly seated and tidy up cables for optimal airflow.
Step 9: Install Cooling System
For air cooling, position it on the CPU and secure it with screws.
For liquid cooling, follow manufacturer instructions for setting up the radiator and CPU block.
Step 10: Final Assembly and Power Up
Close the case after ensuring all components are properly secured.
Connect peripherals such as a monitor, keyboard, and mouse.
Your Journey to a Custom Gaming PC
You’ve now completed the assembly of your gaming PC! What once seemed complex is transformed into a personal project that enhances your gaming experience and showcases your technical skills.
Taking the time to build your own system allows for a better understanding of how the parts interact, along with the performance metrics that matter most for gaming. Whether you prefer sleek designs or bold, gamer-centric visuals, the satisfaction of creating something with your own hands is what makes this journey worthwhile.
Are you ready to launch your favorite game and enter new digital realms? Your adventure in technology and creativity has just begun. Embrace the excitement of your personalized build—your perfect gaming rig is now a reality!


Comments